Student Enrollment
Please watch the video, or follow the steps below.
ADA, Course Load, and Reason for Enrolling
All fields marked with an asterisk (*) must be completed.
- After logging in, click Students, Student Enrollment.
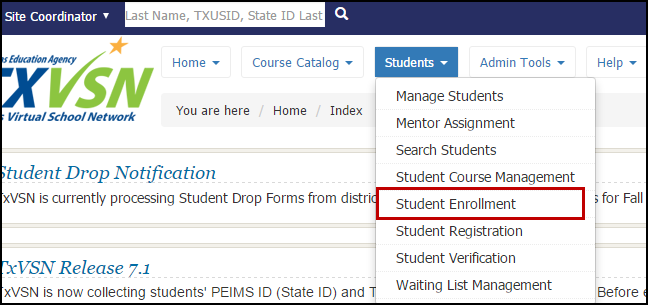
- Student Enrollment:
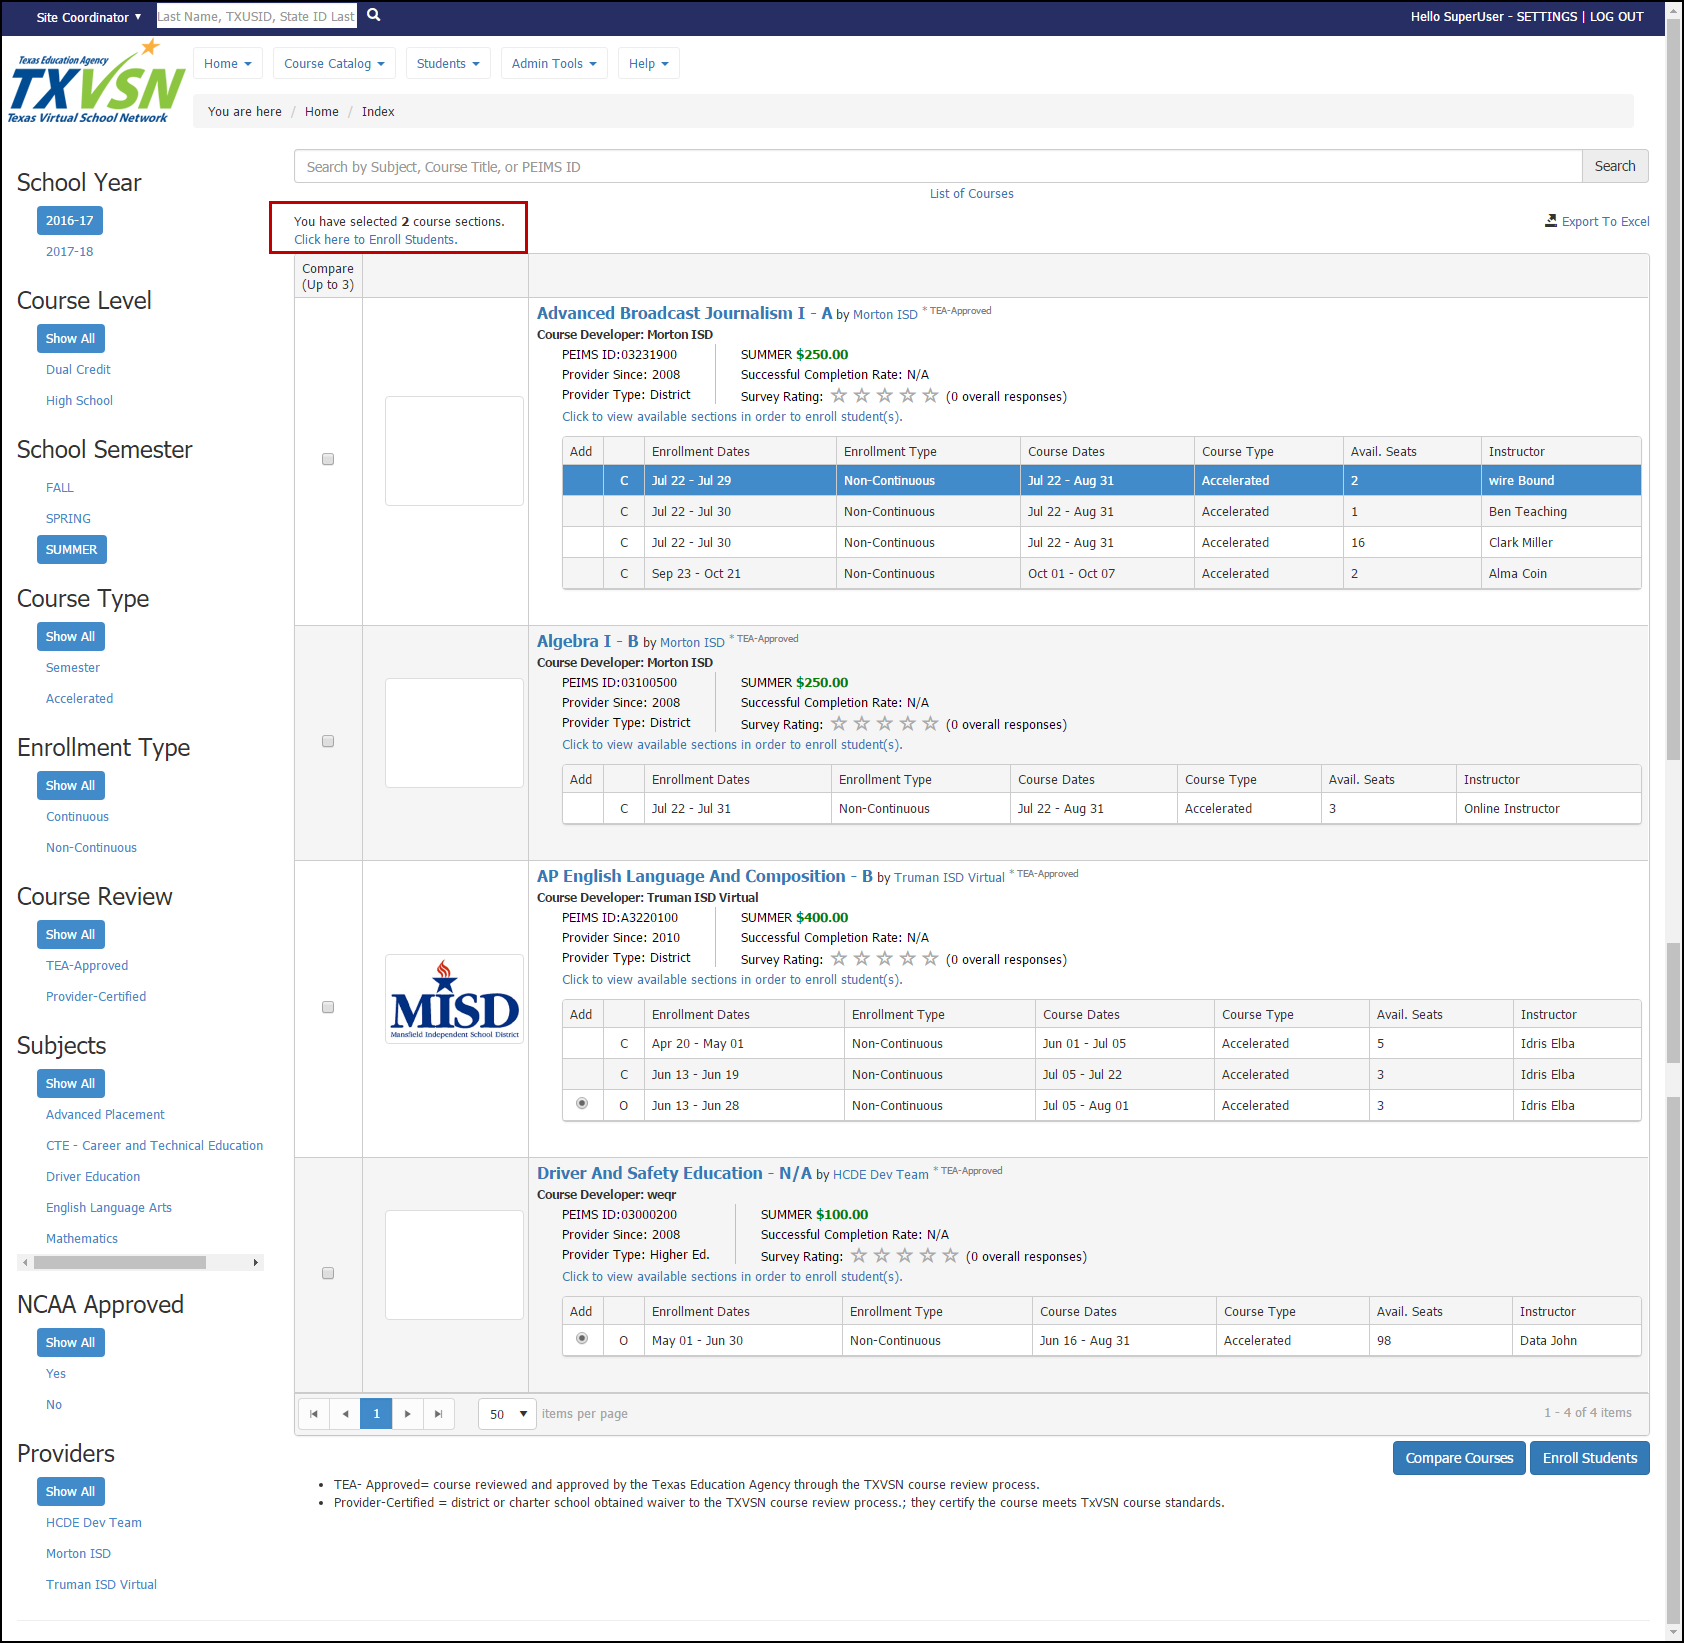
- TxVSN statewide course catalog displays:
- Select course(s).
- Click Enroll Students.
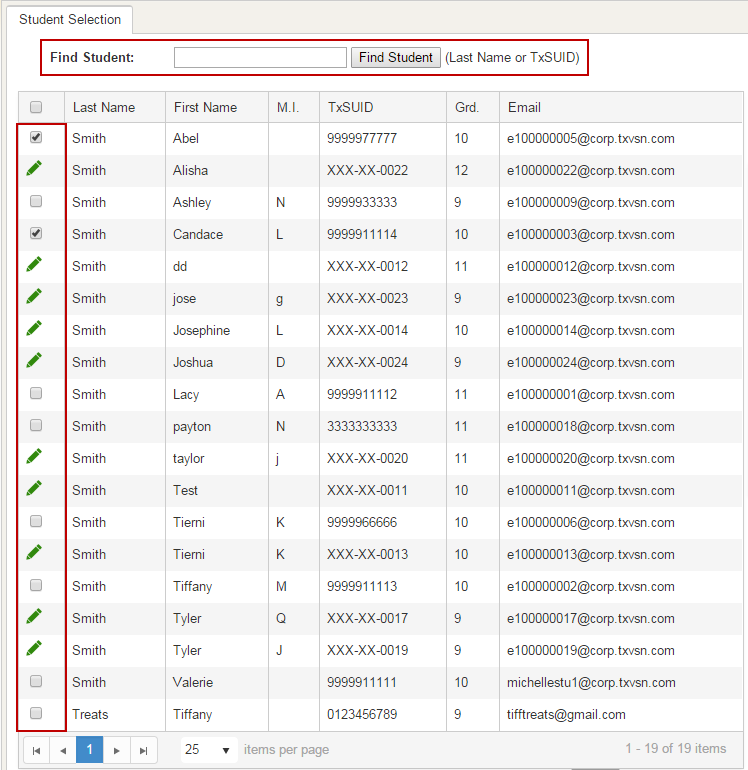
- Select students:
- Enter last name or TxSUID of student.
- Click Find Student OR
- Select individual students on grid. (NOTE: For students displaying the edit icon (green pencil), edit student information before continuing.)
- Add selected to:
- Site Coordinator can select course(s) selected or Add to All.
- Click Apply.

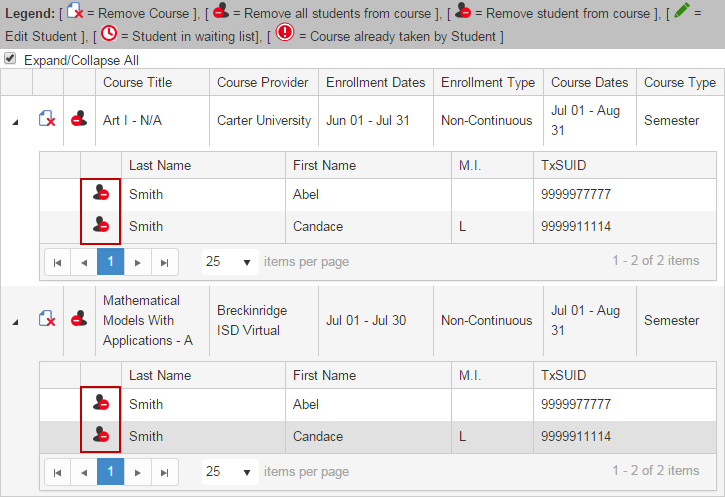
- Student(s) added to selected course grid.
- To remove a course, click on Remove Course icon.
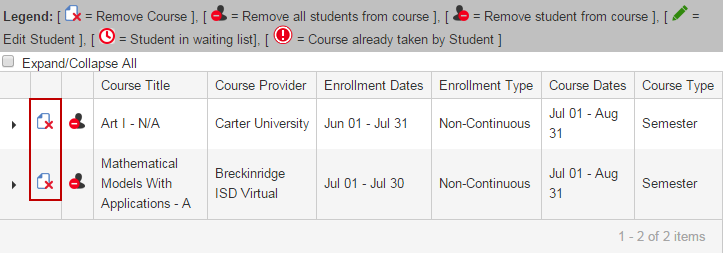
- To remove a student, click on Remove Student from Course icon.
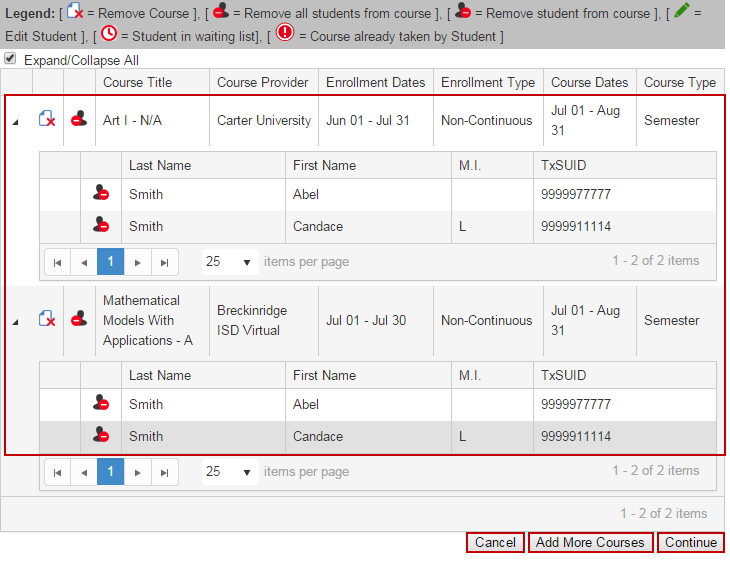
- Cancel directs user to the TxVSN statewide course catalog.
- Add More Courses directs user to the TxVSN statewide course catalog.
- Click Continue.
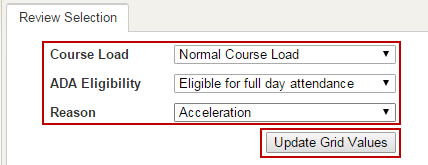
- Review Selection Page:
- Enter all information requested.
- Click Update Grid Values.
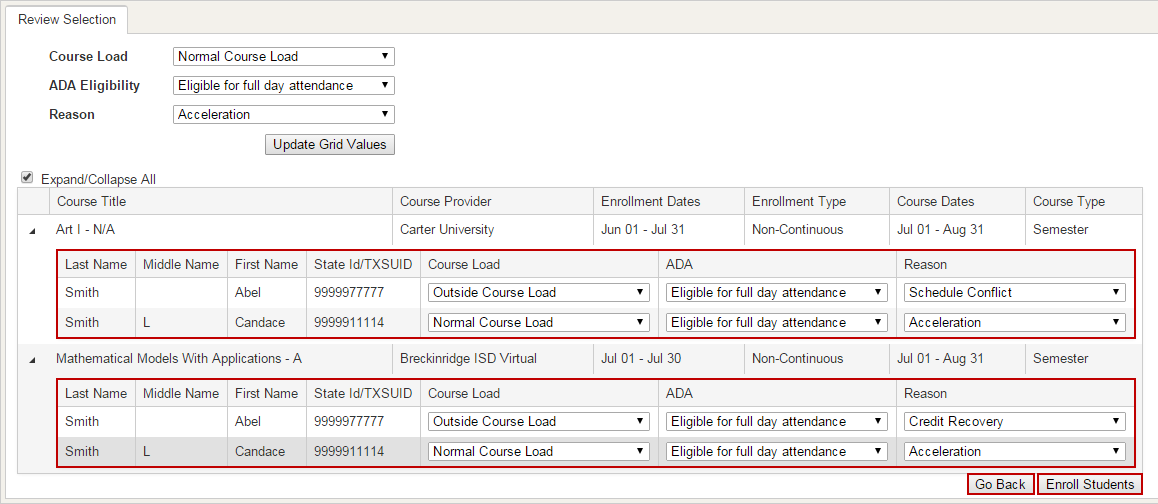
- Site Coordinator can change values for individual students.
- Click Go Back to return to Student Selection page.
- Click Enroll Students.
- Enrollment Summary Page:
- Enrollment Status Reason - Waiting List option - Click each student to place on waiting list.
- Click Final Enrollment Summary.

NOTE: Additional Registration Information - After enrolling a student into a high school or dual credit course that requires additional registration, a triangle symbol will appear on the student enrollment summary page. Student must complete an additional registration process with the course provider. Click on the symbol to obtain additional registration information.
- Enrollment Summary:
- Export to Excel option.
- Click Finished.

NOTE: Email notification will be sent to Course Provider, Site Coordinator, and enrolled student after enrollment process is completed.